This is a simple guide that will show some useful informations about OpenCTI as a tool in your CTI environment, and obviously how run it.
I pretend to use a simple and descriptive language, so anyone who wants to test it, could have success.
Before start this session there is one thing that’s important you to known, this tool isn’t a replacement for your MISP instance or other kind of tool that has the ability to consume feeds. In my opinion the main objective of OpenCTI is a way you can organize information of otherS public or private feeds, to be able to correlate this information with the discovery actions for your team, regions, countries, sectors, threat actors, CVEs, malwares and others.
Installation
If you’re trying to understand how the tool works, the best way to preceed is using the docker version, available in this link.
They have a good documentation there, but basically if you’re in the Linux environment you’ll need install the packages git and docker_compose , with command below (Using debian based distros).
$ sudo apt install git docker-compose
After that, you clone the repository for your machine.
$ git clone https://github.com/OpenCTI-Platform/docker.git
Cloning into 'docker'...
remote: Enumerating objects: 393, done.
remote: Counting objects: 100% (232/232), done.
remote: Compressing objects: 100% (108/108), done.
remote: Total 393 (delta 151), reused 199 (delta 121), pack-reused 161
Receiving objects: 100% (393/393), 65.30 KiB | 3.84 MiB/s, done.
Resolving deltas: 100% (246/246), done.
Install all requirements with:
$ pip3 install -r requirements.txt
As we’ll work with a docker image, the main file you’ll need to look is the docker/.env.sample. This file is responsible for save all variables that we’ll use to run OpenCTI and any connector relate to it.
As first action remove the extension .sample or only do a copy of this file. Inside the file configure users, passwords and UUIDv4 as you like. You can generate UUIDv4 in this page or run this command on linux:
uuidgen
The default env.sample:
OPENCTI_ADMIN_EMAIL=admin@opencti.io
OPENCTI_ADMIN_PASSWORD=ChangeMe_STRING
OPENCTI_ADMIN_TOKEN=ChangeMe_UUIDv4
MINIO_ROOT_USER=ChangeMeAccess_STRING
MINIO_ROOT_PASSWORD=ChangeMeKey_STRING
RABBITMQ_DEFAULT_USER=guest
RABBITMQ_DEFAULT_PASS=guest
CONNECTOR_HISTORY_ID=ChangeMe_UUIDv4
CONNECTOR_EXPORT_FILE_STIX_ID=ChangeMe_UUIDv4
CONNECTOR_EXPORT_FILE_CSV_ID=ChangeMe_UUIDv4
CONNECTOR_EXPORT_FILE_TXT_ID=ChangeMe_UUIDv4
CONNECTOR_IMPORT_FILE_STIX_ID=ChangeMe_UUIDv4
CONNECTOR_IMPORT_DOCUMENT_ID=ChangeMe_UUIDv4
SMTP_HOSTNAME=ChangeMe.Mail.Com
After change env.sample:
OPENCTI_ADMIN_EMAIL=admin@opencti.io
OPENCTI_ADMIN_PASSWORD=password
OPENCTI_ADMIN_TOKEN=2c1d2922-89ab-4156-8809-37a790b43223
MINIO_ROOT_USER=minion
MINIO_ROOT_PASSWORD=minion_password
RABBITMQ_DEFAULT_USER=rabbit
RABBITMQ_DEFAULT_PASS=red_eyes
CONNECTOR_HISTORY_ID=c8d805d6-4b5b-47d7-8b27-383f09949d6d
CONNECTOR_EXPORT_FILE_STIX_ID=78c50644-03cf-49c4-848f-2f4ade9e702d
CONNECTOR_EXPORT_FILE_CSV_ID=63c06b49-37f3-4161-887b-9a5204f22af1
CONNECTOR_EXPORT_FILE_TXT_ID=3feb10d8-00a1-4ee9-a8d5-bba02ed23858
CONNECTOR_IMPORT_FILE_STIX_ID=f9d8bfc3-2255-44cf-8087-e97c11c31d99
CONNECTOR_IMPORT_DOCUMENT_ID=4bd39da0-6f0f-47f3-848a-a82983b61dc3
SMTP_HOSTNAME=ChangeMe.Mail.Com
Notice that are some connectors in the default docker-compose file. This default connectors will be already present in the interface when we open.
That’s all for the configuration step.
Now you can run your environment with:
$ sudo docker-compose up -d
You can use -d to Detached mode. With it you’ll run containers in the background, and only print the process of creation of new containers.
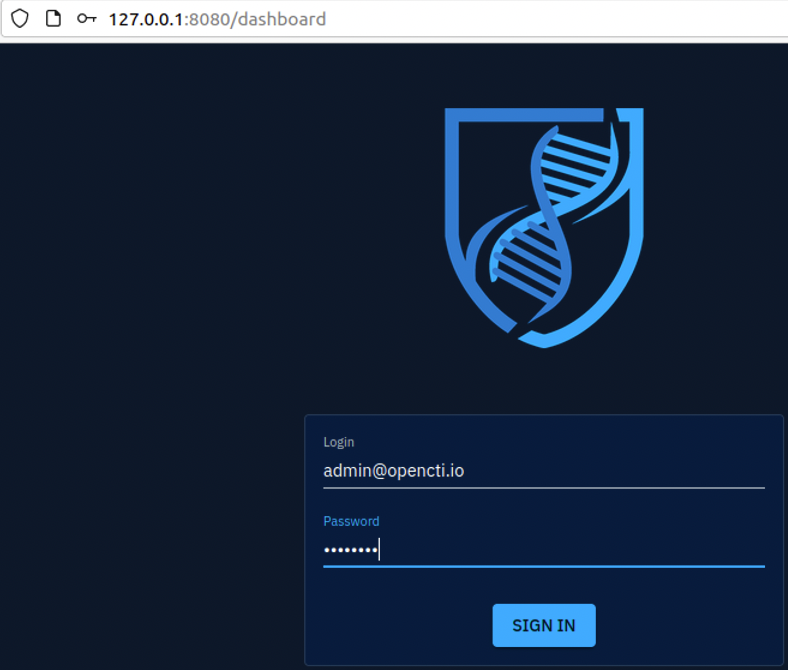
Access in your browser OpenCTI after some seconds.
 |
|---|
| Logon Page |
If you’re having problems to access this page try to create a variable in .env like, ‘OPENCTI_URL’, and replace the value in the docker-compose.yml for it.
.env:
OPENCTI_URL=http://192.168.12.33:8080
docker-compose.yml:
connector-history:
    image: opencti/connector-history:5.2.1
    environment:
      - OPENCTI_URL=${OPENCTI_URL}
      - OPENCTI_TOKEN=${OPENCTI_ADMIN_TOKEN}
      - CONNECTOR_ID=${CONNECTOR_HISTORY_ID}
Docker Commands for Troubleshooting
If you’re not familiar with docker, this basic commands will give you a path to understand how can you troubleshoot some normal problems
Initializing docker with logs
$ sudo docker-compose up
Initializing without logs
$ sudo docker-compose up -d
Stop docker container(s)
$ sudo docker-compose down
Visualize the current docker processes
$ sudo docker ps
Clear database from docker instances
$ docker-compose down # Stop the container(s)
$ docker rm -f $(docker ps -a -q) # Delete all containers
$ docker volume rm $(docker volume ls -q) # Delete all volumes
$ docker-compose up -d # Restart the containers
Remove all unused docker objects
$ docker system prune
$ docker system prune -a
Access Docker Bash
$ sudo docker exec -it docker_connector-misp_1 /bin/sh
Conclusion
In the next post I`ll start explain the view of each page inside OpenCTI and how they can help us.